
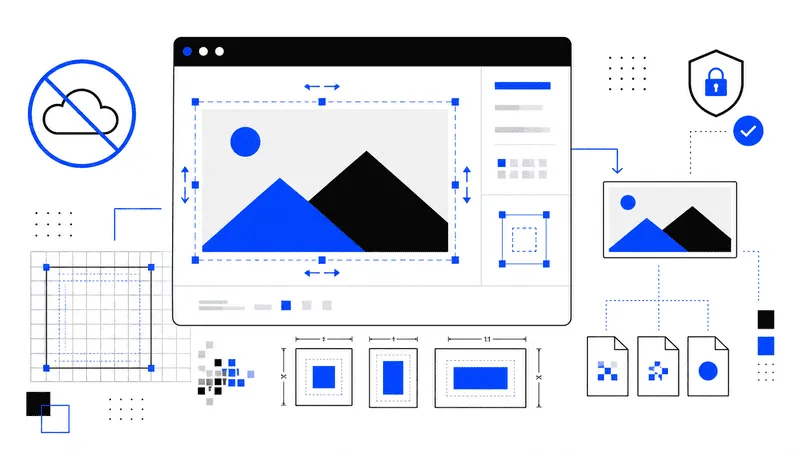
Resizing an image sounds like a simple task.
In reality, many online image editors require you to upload your files to a remote server before anything happens. That may be acceptable for public images, but it is less appealing when you’re working with personal photos, client assets, internal documents, or screenshots containing sensitive information.
Fortunately, modern browsers can resize images entirely on your own device.
No uploads. No waiting for a server. No unnecessary privacy concerns.
In this guide, you’ll learn how local image resizing works, why it is often the better option, and when you should choose browser-based processing over cloud services.
Why Avoid Uploading Images?
Every uploaded file leaves your computer.
Even if a service promises to delete images after processing, your file still travels across the internet and is temporarily stored somewhere before you download the result.
For many situations, that isn’t ideal.
Examples include:
- Personal photographs
- Business presentations
- Design mockups
- Legal documents
- Medical records
- Screenshots containing passwords or API keys
- Internal company dashboards
Keeping these files on your own device reduces unnecessary exposure.
Modern Browsers Can Resize Images
Today’s browsers include powerful graphics APIs that allow websites to edit images locally.
The typical workflow looks like this:
- Select an image from your computer.
- The browser reads the file.
- The image is decoded locally.
- A canvas resizes the image.
- The browser generates a new file.
- You download the resized version.
Nothing needs to leave your computer.
This process works entirely inside the browser.
How Local Image Resizing Works
Most browser-based image resizers rely on a few built-in web technologies.
File API
The File API allows a web page to access files that you explicitly choose.
The website cannot browse your computer or read arbitrary folders.
You remain in control of which images are opened.
Canvas API
The Canvas API creates a drawing surface inside the browser.
Once an image has been loaded, it can be drawn at almost any dimensions.
For example, a 4000 × 3000 photo can be rendered as:
- 2000 × 1500
- 1200 × 900
- 800 × 600
- 300 × 225
The browser performs the scaling locally.
Blob API
After resizing, the canvas exports a completely new image.
Depending on the tool, you can usually save as:
- JPEG
- PNG
- WebP
Many editors also allow you to adjust JPEG quality before exporting.
Benefits of Local Processing
Better Privacy
Your files never need to be uploaded.
That alone makes browser-based tools attractive for anyone handling sensitive information.
Faster Processing
Uploading a 25 MB photo over a slow connection can take much longer than resizing it locally.
Local processing begins almost immediately.
Works Offline
Many browser-based image resizers continue working without an internet connection after the page has loaded.
This can be useful while traveling or working in secure environments.
No Server Limits
Cloud services often restrict:
- File size
- Daily uploads
- Number of conversions
- Export resolution
A local tool typically depends only on your device’s available memory and processing power.
When Local Resizing Is the Better Choice
Local processing is ideal for:
- Social media graphics
- Blog images
- Website optimization
- Product photos
- Portfolio images
- Email attachments
- Documentation
- Screenshots
If your goal is simply changing image dimensions or reducing file size, there is usually no reason to involve a server.
Resize by Pixels or Percentage
Most image resizers provide two approaches.
Resize by Dimensions
Specify an exact width and height.
Examples:
1920 × 1080
1200 × 630
1080 × 1350
800 × 800
This is useful for websites, social media, and UI assets.
Resize by Percentage
Instead of entering new dimensions, reduce the image proportionally.
Examples:
100%
75%
50%
25%
This approach is convenient when creating smaller versions without calculating pixel values.
Keep the Aspect Ratio
Most resizing tools include an option to lock the aspect ratio.
This prevents the image from becoming stretched.
For example:
Original:
4000 × 3000Correct resize:
2000 × 1500Incorrect resize:
2000 × 2000Keeping the original proportions preserves the intended composition.
Choose the Right Output Format
Different formats suit different content.
JPEG
Best for:
- Photography
- Landscapes
- Portraits
- Large colorful images
JPEG produces relatively small files while maintaining good visual quality.
PNG
Best for:
- Logos
- UI elements
- Screenshots
- Graphics with transparency
PNG preserves sharp edges and text.
WebP
Best for:
- Modern websites
- Optimized web graphics
WebP often produces smaller files than JPEG or PNG while maintaining similar quality.
Reduce File Size Without Losing Too Much Quality
Resizing dimensions already reduces file size significantly.
You can often reduce it even further by adjusting compression quality.
For JPEG images:
- 95% gives excellent quality.
- 90% is usually indistinguishable from the original.
- 80–85% provides an excellent balance between quality and file size.
- Below 70% compression artifacts become more noticeable.
Always preview the exported image before sharing it.
Common Mistakes
Upscaling Tiny Images
Increasing resolution does not create missing detail.
A 300 × 300 image enlarged to 3000 × 3000 will simply become blurrier.
Ignoring Aspect Ratio
Stretching images makes people and objects look distorted.
Keep proportions locked unless distortion is intentional.
Using PNG for Every Photo
PNG files are much larger than JPEG for photographic content.
Choose the format based on the image.
Compressing Multiple Times
Saving an already compressed JPEG repeatedly can gradually reduce quality.
Whenever possible, start from the original file.
Is Browser-Based Resizing Safe?
Local processing is generally safer than uploading files to an unknown server because the image never needs to leave your device.
However, you should still use reputable tools.
A trustworthy image resizer should:
- Clearly explain that processing happens locally.
- Request only the files you select.
- Avoid unnecessary account creation.
- Not require uploads for basic resizing.
Privacy begins with understanding where your files are processed.
Who Benefits Most?
Local image resizing is useful for almost everyone, including:
- Web developers
- Designers
- Content creators
- Bloggers
- Marketing teams
- Students
- Small businesses
- Photographers
If you regularly prepare images for websites or social media, local resizing can save both time and bandwidth.
Final Thoughts
You no longer need to upload every image to an online service just to change its dimensions.
Modern browsers include everything required to resize images locally using built-in web technologies. The process is fast, private, and often works even without an internet connection.
For everyday tasks like preparing blog images, compressing photos for email, or creating graphics for social media, browser-based resizing is usually the simplest solution.
Whenever possible, keep your files on your own device, resize them locally, and upload only the final version you actually intend to share.